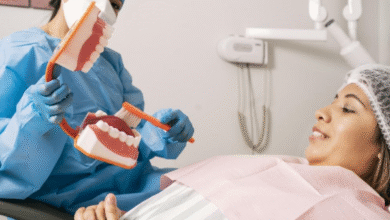
A dental visit can feel tense, especially when you see metal tools near your mouth. You deserve to know what each tool does and why your dentist uses it. A Redmond dentist relies on a small set of trusted tools to find problems early, stop pain, and protect your teeth. Each tool has a clear purpose. One helps your dentist see. Another helps clean. A third helps seal and protect. Together, they keep small issues from turning into tooth loss or infection. This guide walks through six common tools you see in the chair. You will learn what they are, how they work, and what you can expect during your next visit. Clear facts can reduce fear. When you know what is coming, you can breathe easier, ask better questions, and stay in control of your own care.
1. Mouth mirror
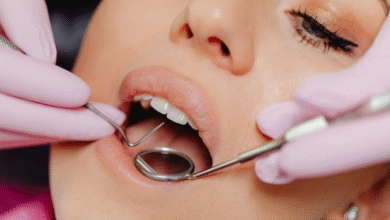
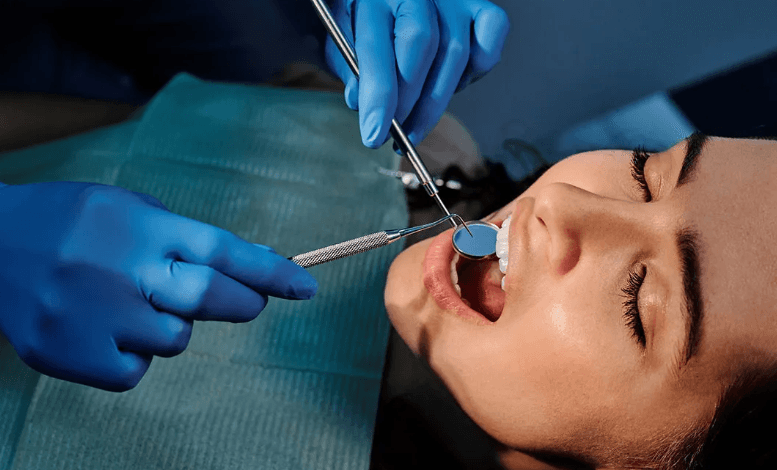
The mouth mirror is the small round mirror on a thin handle. It looks simple. It is powerful.
Your dentist uses it to:


- See the back of your teeth
- Check the gum line
- Look for stains, chips, and early decay
The mirror lets your dentist see tight spots without twisting your lips or tongue. That protects soft tissue and gives a clear view. Early vision of a small dark spot can save a tooth. The mirror also reflects light into dark corners so your dentist can see cracks that you cannot feel yet.
2. Dental explorer
The dental explorer is the thin metal tool with a pointed tip. It may look sharp. It gives your dentist key clues.
Your dentist uses the explorer to:
- Test the surface of enamel
- Check fillings and crowns for gaps
- Feel soft spots that may be cavities
The tip glides over healthy enamel. It catches on rough or damaged spots. That catch tells your dentist where decay may hide. The explorer also helps find plaque along the gum line. Quick, gentle use guides treatment before pain starts.
3. Periodontal probe
The periodontal probe looks like a thin ruler with tiny marks. It checks the health of your gums.
Your dentist or hygienist uses it to:
- Measure pocket depth around each tooth
- Check for bleeding points
- Track gum changes over time
The probe slides between your tooth and gum. The markings show how deep the pocket is. Shallow pockets are easier to clean at home. Deeper pockets can trap bacteria and lead to bone loss. Regular probing lets your dentist compare numbers from visit to visit and step in before teeth loosen.
4. Ultrasonic scaler
The ultrasonic scaler uses quick vibrations and water spray to remove hardened plaque, called tartar. You hear a hum and feel a light tapping.
Your dentist or hygienist uses it to:
- Break up tartar above and below the gum line
- Remove heavy stains from coffee, tea, or tobacco
- Clean deep pockets during gum treatment
The tip moves very fast. That motion chips tartar away while water cools the tooth and washes debris. Hand tools, then fine-tune the cleaning. This tool reduces the need for hard scraping and shortens cleaning time. Clean roots help gums tighten and reduce bleeding.
5. High-speed and slow-speed handpieces
Handpieces are the drills you see and hear. There are two main types. Each serves a clear role.
Your dentist uses them to:
- Remove decay
- Shape teeth for fillings or crowns
- Smooth and polish restorations
The high-speed handpiece cuts enamel and old fillings. Water spray keeps the tooth cool. The slow-speed handpiece refines edges and polishes surfaces. Careful use keeps as many healthy teeth as possible. When decay is gone, and the shape is smooth, fillings last longer and feel more natural.
6. Dental curing light
The curing light looks like a small flashlight with a blue glow. It hardens certain dental materials.
Your dentist uses it to:
- Set tooth colored fillings
- Harden sealants on back teeth
- Secure some bonding and repair materials
The light activates a reaction in the material, so it turns from soft to firm. That process happens in seconds. Strong, cured fillings and sealants help block bacteria from entering tiny grooves and cracks. Sealants on children’s molars can cut cavity risk. The National Institute of Dental and Craniofacial Research explains how sealants protect chewing surfaces.
See also: Why Preventive Dentistry Protects Against Generational Health Risks
Quick comparison of common tools
| Tool | Main purpose | What you feel or notice |
|---|---|---|
| Mouth mirror | Helps your dentist see all tooth surfaces | Light pressure on cheeks, lips, or tongue |
| Dental explorer | Finds soft spots, rough edges, and plaque | Light tapping or scraping on teeth |
| Periodontal probe | Measures gum pockets and checks gum health | Short pinching feeling at some spots |
| Ultrasonic scaler | Removes tartar and heavy stains | Vibration, water spray, and scraping sound |
| High speed handpiece | Removes decay and shapes teeth | Strong sound, water spray, steady pressure |
| Slow speed handpiece | Finishes and polishes teeth and fillings | Gentle vibration and smoother sound |
| Curing light | Hardens fillings and sealants | Blue light near your tooth, little to no feeling |
How this knowledge helps you
When you know what these tools do, you feel less alarmed during care. You can:
- Ask clear questions about each step
- Speak up if something hurts or feels wrong
- Help your child stay calm by naming tools in simple words
Routine visits use most of these tools in quick, careful ways. Each one has a single goal. That goal is to keep your teeth strong and your gums firm. When you understand that purpose, the tools look less like threats and more like shields.